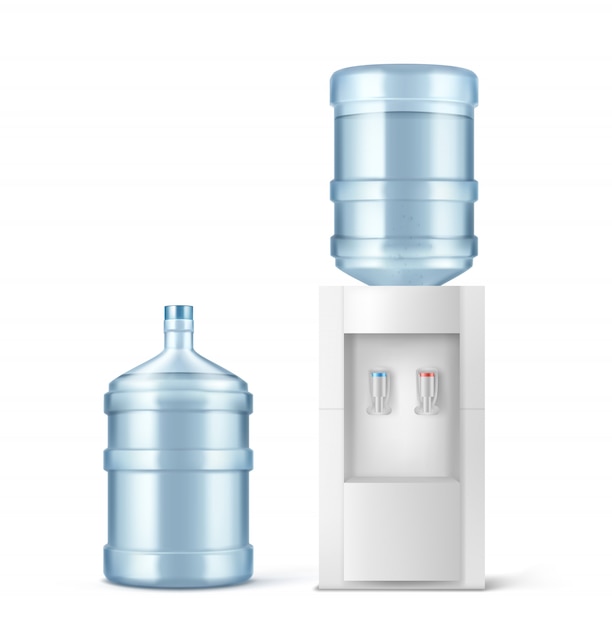
Hydration is a key part of health and wellbeing, no matter where or who you are. Having easy access to fresh, great-tasting water can really help to amp up your rate of hydration, so it’s a good idea to look into options that will provide you with this, fuss-free. And don’t forget, all appliances, even ones that deal with dispensing drinking water, require regular cleaning and maintenance to not only ensure that everything is working properly, but also to ensure that bacteria and other contaminants are not growing in these moist conditions over time.
So if you’ve recently acquired a benchtop water cooler for your home or office, and are wondering how to clean and maintain your new appliance in the best way, read on to find out tried and tested methods of cleaning your water cooler.
Maintaining Your Benchtop Water Cooler Against Infectious Contaminants
The process of cleaning your water cooler is actually quite simple. Just make sure to check the guidelines set by the manufacturer or supplier to ensure that the method and cleaning solutions you’ll be using are appropriate for the model that you have.
For example, if you have a hot and cold benchtop water cooler, the hot tank usually self-sanitises with its heat setting, so you have to be mindful to not get any cleaning products in this tank. Check the integrity of your seals and rubber stoppers to ensure that there are no leaks currently occurring that may need additional attention before beginning the cleaning process. Doing these simple things can go a long way in not only making the cleaning process easier, but also maintaining the longevity of the appliance over time.
It is recommended to clean your water cooler at least every six months, but it’s better if you do the cleaning process every three to combat any contaminants.
Cleaning Your Benchtop Water Cooler
Ensure that the water bottle is empty before starting, and remove it. Unplug the cooler to ensure that no electricity is running through the appliance as you clean it.
If you look inside, you’ll find a lid and a blue or white plastic funnel called a baffle. Remove these two pieces, and using around 2 litres of hot, clean water mixed in with vinegar or a manufacturer approved cleaning and sterilising product, clean the inside of the water reservoir with a soft, damp cloth, and this solution that you’ve made.

If you’re wondering why vinegar is acceptable for use in cleaning your water cooler, this is because vinegar’s acidity helps combat grease, grime, and mineral deposits. It is a well-known home cleaning solution that has been used throughout the years for its disinfectant and cleaning properties, and it is highly effective as long as you use it with the right surfaces and in the right concentration. And if you’re wondering which vinegar to use, white distilled vinegar is the best to clean with as it does not have any colourants, which means it won’t stain your benchtop water cooler.
Once this is finished, if there is any remaining water in the reservoir, this is the time to drain it using the taps or the spigots. To ensure that there are no remaining traces of the vinegar or cleaning solution that you used, make sure to rinse out the reservoir at least five times. This is to ensure that there won’t be a vinegar taste, or chemicals remaining in the reservoir that can soil the taste and potability of your water.
Onto the taps and spigots: if you are able to remove these parts, do so, and wash them with an appropriate cleaning solution. This is important as this is the boundary between the fresh water in your water bottles, and your mugs or cups that will serve as the vehicle for your hydration. Bacteria or contaminants can grow in this part of your water cooler, which can then go into your drinking water, so it’s best to keep it as clean as possible.
After this, put the baffle and the lid in their original place, and place your new water bottle on top. Plug in your benchtop water cooler, and enjoy your freshly cleaned and sanitised water dispenser.
Tags: Benchtop Water Cooler